It’s time for the 36-year-old foam mattresses in the crew and guest staterooms to go and new mattresses installed. I had purchased a memory foam mattress for the master stateroom since it is a standard queen size bed. The rest of the mattresses onboard are all custom sizes and would have to be fabricated. I wanted to duplicate, for the most part, what I had in the master stateroom since that mattress was very, very comfortable.
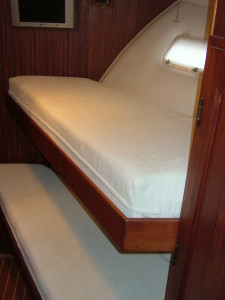
I found the lay-up schedule for the Tempur-Pedic mattresses, but for this particular room (the crew stateroom in the bow), that lay-up was too tall, so I used 3 of the 5 layers from that schedule. The crew stateroom has upper and lower bunks. The lower bunk will be less thick than the upper due to limited overhead space in the bottom bunk.
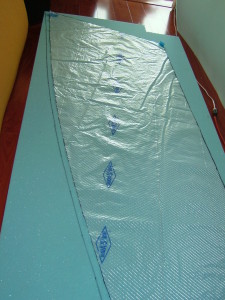
I first had to make a pattern of the space where each mattress would lay. I used Dura Skrim Patterning Material from Sailrite in Columbia City, Indiana. I really like this stuff for all patterning and I keep a roll of this on hand. http://www.sailrite.com/Dura-Skrim-2-Patterning-Material-74
I purchased my foam products from The Foam Factory in Macomb, Michigan. Here is what I used:
4″ and 1″ high density foam http://www.foambymail.com/LHQ/lux-high-quality-foam.html
2½” eggcrate foam http://www.foambymail.com/EC_.html
3″ memory foam http://www.foambymail.com/V_4.html
The total cost of the foam products I selected for the crew bunks was $328.04.
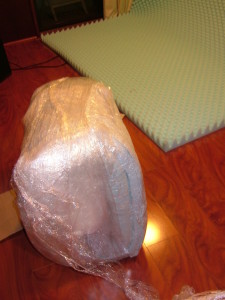
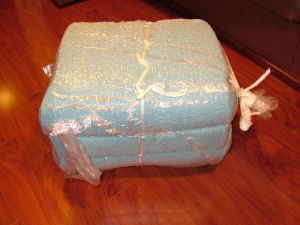
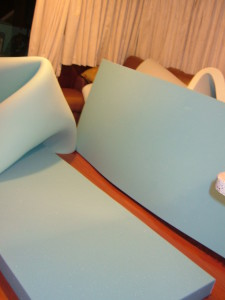
When the foam arrived, I unboxed it and let it expand. I let it sit for the recommended 48 hours.
For the upper bunk and probably for the other two guest rooms, I’m using 4″ of high density foam, topped with 2½” eggcrate foam, topped with 3″ of memory foam. I had intended to glue the layers together with the 3M Yellow Super Trim Adhesive, but as it turned out, that didn’t stick all that well, so I didn’t move forward with trying to glue the other layers. These layers stick to each other pretty well anyway, and they were going to be contained in a tight-fitting cover. Adhesive is used to keep the foam layers from sliding out of alignment, but with the kind of covers I made for them, I doubt there will be any sliding going on.
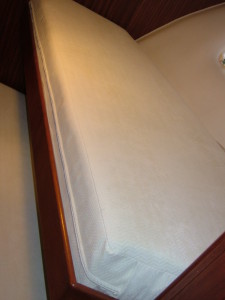
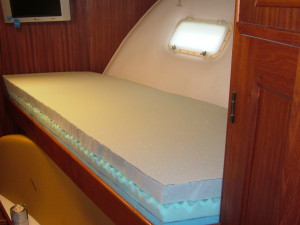
The outside edges of the upper bunk has a beveled edge to match the contour of the flared hullside. I did not bevel the outside edge of the lower bunk because the flare there was insignificant.
On the lower bunk, I had intended to omit the eggcrate layer and hope for the best, but after sampling a few different lay-ups from the products I had on hand, I found the best option in terms of comfort and height to be 1″ high density foam, topped with 2½” eggcrate, and 3″ memory foam on top of that.
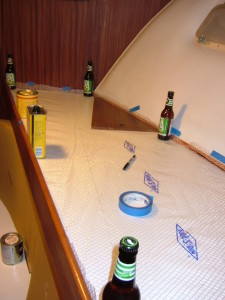
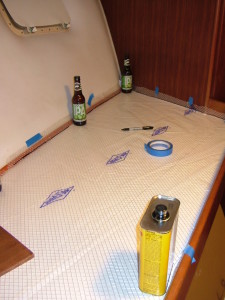
I laid the foam out on the floor and put my pattern on top. I used a black Sharpie marker to trace the pattern onto the foam. I used an electric kitchen knife to cut the foam. Most of the foam was very easy to cut, but the memory foam was the most difficult.

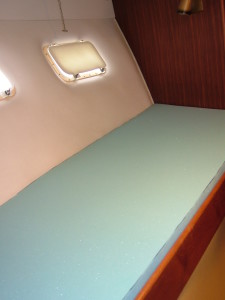 I did a fitting of the first base layer (4″ high density foam).
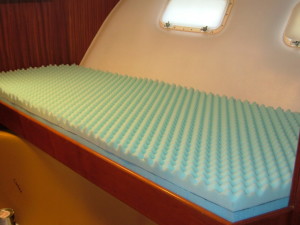 Next layer was the eggcrate. I took a “test drive” on it, with just these two layers, and thought, “Oh no, this is really hard.”
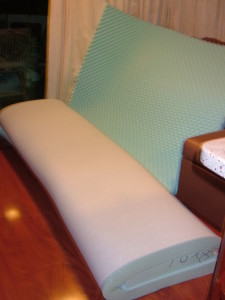
Once I topped it with the 3″ memory foam, it was just right!
I struggled with the selection of the fabric for the cover. I wanted something soft, quiet, washable, non-shrinking, and non-slippery. I chose Covington Bronx Cream from Sailrite which is a corduroy- type fabric. It was just perfect! http://www.sailrite.com/Covington-Bronx-Cream-59-Fabric It took 7 yards to cover both mattresses. My cost on the fabric was $10.95 a yard, but I think retail is a little higher. I used a YKK #5 Vislon continuous zipper.
http://www.sailrite.com/YKK-Continuous-Vislon-Zipper-Chain-White-5
This zipper runs the entire long length and around each corner for about 4-5 inches. That gives the cover a “wide mouth” opening making it easier to slip the foam inside. I used the V-69 thread and sewed this with my Sailrite sailmaker’s machine. http://www.sailrite.com/Thread-V-69-White-Polyester-UV-4oz-1-400-Yds
Sewing the cover was straight forward – like you’d sew any seat cushion cover, with the exception of the beveled edge of the upper bunk. That one gave me a few fits and I did a little trial and error on that, but eventually got it. I had never done a beveled edge where it meets a non-beveled edge before, so I had to spend a little time figuring it out. I got it.
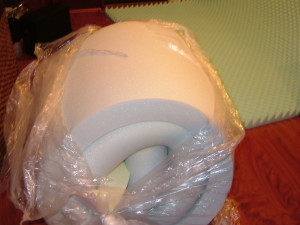
Once the covers were done, it was time to start stuffing! I found this wonderful product at Sailrite called Cushion Wrap Silk Film. http://www.sailrite.com/Cushion-Wrap-Silk-Film-Full-Roll Boy, this stuff is gold when it comes to stuffing foam of any size or shape into a cover. Sailrite sells it in 10 yard increments, but I bought the whole roll (720 yards) because I’m going to be using this stuff a lot! There is a video here http://www.sailrite.com/Cushion-Wrap-Silk-Film-Center-Fold-54 as to how this stuff works. Pretty amazing.
I dragged all of the mattress layers up to the salon floor where I had my silk film laid out and the cover unzipped and ready to go. I finished wrapping the film over the mattress and inserted the hose to the shop vac in between a couple of layers at the middle of the long edge. I turned on the shop vac and the mattress shrunk dramatically. While the shop vac continued to run, holding the mattress in its shrunken state, I quickly stuffed it into the cover, removed the vac hose, and zipped the cover closed. All done. The mattress continued to expand inside the cover until it was nice and plump.